
Cable organization around a desk starts with the equipment’s normal position, not with pulling every wire into the tightest bundle. Devices need room to connect, move and be unplugged according to their instructions. Plan those movements first, then use suitable holding points to keep the routes defined. Small accessories that are not in use belong in storage rather than hanging from the active cable arrangement.
Map each connection before moving it
Draw a simple desk view and label the devices, their connection points and the power location. Identify each cable and its job. Follow equipment instructions for shutting down and unplugging before repositioning connections. Do not use storage accessories to compensate for an unsuitable electrical arrangement.
Mark the items that move: a laptop placed away after work, a monitor adjustment, a drawer, a chair or the desk itself if it changes height. Each moving item needs a cable route that remains appropriate throughout its normal range. A tidy route at one position may pull taut or become pinched at another.
Establish the route without attaching anything
Lay out the cables along the proposed desk edges and check their available length. Keep them clear of moving hardware and the space used by knees and feet. Follow the devices’ guidance for cable handling and avoid arrangements that strain a connector.
Rehearse removing a device from the desk. Can you reach its connection point, identify the right cable and unplug it without pulling on a neighboring connection? Leave useful access instead of hiding every plug behind a fixed organizer. The route should remain understandable when you need to change equipment.
Check the surface and the clip fit
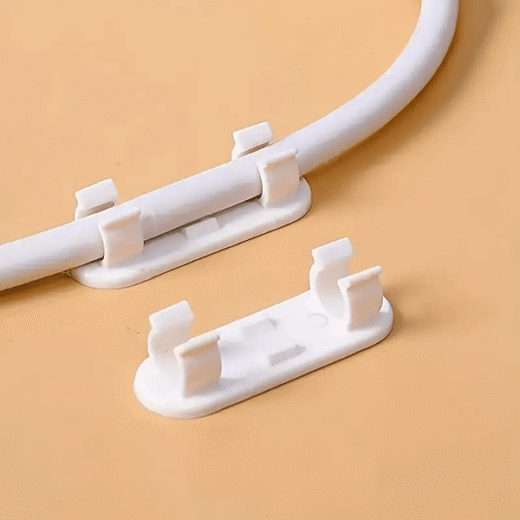
The clear adhesive cable clips come as a pack of twenty and provide defined holding points for cables on suitable desk and wall surfaces. Check the actual cable fit and the mounting instructions. An adhesive clip is not a guarantee of compatibility with every finish or damage-free removal.
Inspect the proposed location for texture, curvature and other obstacles. Follow the supplied preparation and placement guidance. Start with a small number of useful holding points rather than attaching the whole pack at once. You can judge the route only after using the equipment in its normal positions. Keep a simple connection label where it remains useful without covering device information. When a device changes, review its route instead of threading the new cable through every old holding point. Removing an unused route can be more helpful than adding another clip to an arrangement that no longer matches the equipment.
Store spare accessories separately
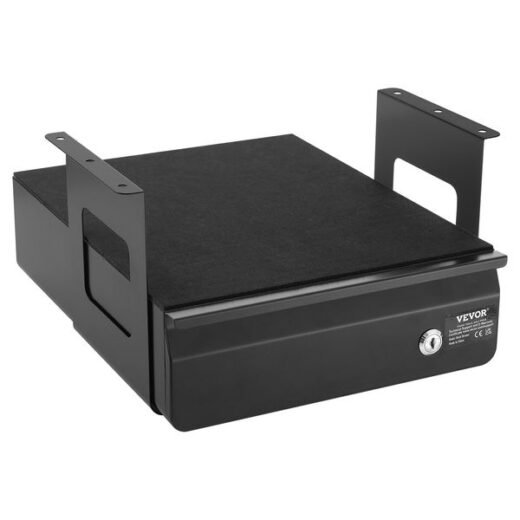
Unconnected adapters, suitable small accessories and spare cables can form a contained drawer group. The VEVOR lockable under-desk drawer is listed at 14 by 13 by 7 inches. Check tabletop compatibility, installation instructions and mounting clearance before choosing its position.
A drawer under the worktop also affects seated space. Test knee clearance, chair movement and the drawer’s full travel. The under-desk storage guide provides a more detailed fit check. Do not put an accessory where retrieving it requires pushing through an active cable route.
Consider wall storage for a different group
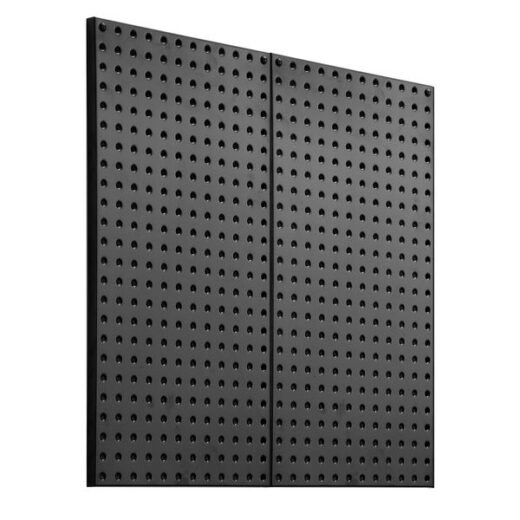
The steel pegboard wall panels come as two panels for compatible hooks and accessories. Check the hole pattern before selecting those accessories and use suitable wall fixings according to the instructions. A visible wall group can hold appropriate small supplies, but it is not a universal cable-mounting or electrical-support system.
Measure the reach from the desk and leave room to remove each stored item. Keep device cables and wall accessories in distinct routes so taking an item down does not disturb a connection.
Compare office organization once the active routes and spare-supply groups are clear. Finish by using every moving device, opening the drawer and moving the chair through its normal range. Revise any point that pulls, catches or obscures a connector. The result should be easier to understand and use, not simply harder to see.
About these guides: RoomSprig uses AI-assisted writing and supplier product information to explain storage choices. Check the selected version, measurements and installation details on the individual product page.