A sink-side cleaning station should be easy to use and easy to empty. If removing the drip tray requires unloading every brush and bottle, the station may remain damp or cluttered simply because maintenance is awkward. Plan the storage around two movements: taking the tool you need and removing the parts that need cleaning. A compact group with clear access often works better than a crowded holder with unused compartments.
Keep the daily group small
Place the items you actually use for dishwashing together: perhaps one brush, a sponge and the appropriate soap container. Store backups separately. Follow the storage and care instructions for each item rather than assuming every cleaning accessory benefits from the same conditions.
Notice which tools you leave in the sink and why. If a brush has no easy place to stand or the sponge space is hidden behind a bottle, change the arrangement rather than adding another item to the counter. The holder should match the shapes of the working group.
Choose a location with a sensible water route
Measure the clear surface beside the sink and note its slope or edge shape. Check faucet movement, dish-rack placement and nearby appliance use. A caddy should not block the part of the sink you need for washing a large pan.
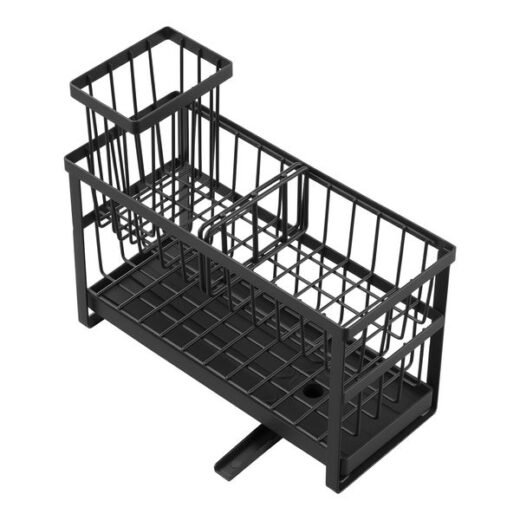
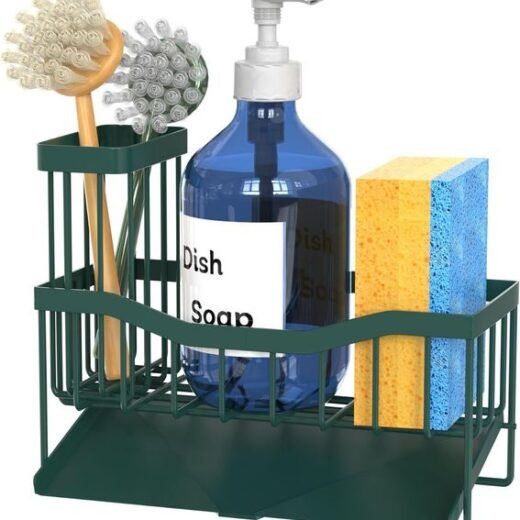
The two-tier sink caddy with drainage spout includes a removable brush holder and drip tray, plus a rotatable spout. Position it so the spout reaches the sink. Leave height for brush handles under any wall cabinet, and make sure you can remove the tray without catching it against the faucet or backsplash.
A drainage feature does not establish that every placement will drain correctly. Test the intended location according to the product instructions and check for water beneath or around the unit. Arrange it so spills remain visible rather than hidden behind a cluster of supplies.
Compare tray formats without inventing performance
The sink caddy with brush holder and drain tray uses a stainless steel open frame with a dedicated brush section. Confirm the tray’s drainage direction when positioning it. Check the route for taking the tray out as well as the space for the loaded brush holder.
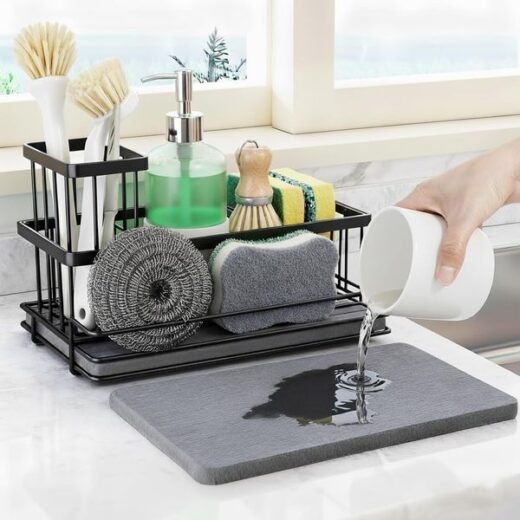
The sink caddy with stone tray has a stainless steel holder above a stone tray. Follow the supplied tray-care instructions. A material name alone is not a reason to promise a drying speed, hygiene result or freedom from maintenance. Choose the format you can position and care for conveniently.
Build a practical emptying sequence
Try the following sequence before filling the caddy completely: remove the soap, place tools temporarily in a suitable spot, take out the removable tray if applicable, clean the parts according to their instructions, and wipe the counter below. Then reassemble the station and return only the daily group.
If the process requires shifting the drying rack or reaching behind an appliance, relocate the caddy. Maintenance should be a short, obvious task. Check the space behind it too; a holder placed tightly into a corner can hide residues that are difficult to reach.
Separate clean dishes from cleaning accessories
Leave a distinct area for dishes that have just been washed. The guide comparing dish racks and roll-up racks can help plan that neighboring zone. The caddy and rack should work together without one blocking the other’s removal or water route.
For spare brushes, cloths and other suitably stored supplies, use a separate cabinet group. The under-sink storage guide explains how to plan that area around plumbing rather than treating every inch as shelf space.
When reviewing kitchen storage, compare cleaning access as closely as storage levels. After the first week, look at what still lands outside the caddy. Remove the unused item, free its space for the tool that needs it, and repeat the emptying test. The station is finished when both daily use and cleanup fit naturally beside the sink.
About these guides: RoomSprig uses AI-assisted writing and supplier product information to explain storage choices. Check the selected version, measurements and installation details on the individual product page.